We’re almost at the finish line with the workshop foundation. The only thing left is to pour the concrete slab. An important milestone for the workshop and at the same time a pretty nerve wrecking experience making sure we have not forgotten anything. Once we’ve poured the slab it’s kind of point of no return for a lot of things.
Final inspection and spray foaming
Another early morning with high hopes of ending the day with a smooth nice concrete slab. The crew arrived around 06:30 to prepare for the concrete to arrive about an hour later. We looked over the radiant heating, made sure there were no large gaps close to pipes and removed as much leaves as we possibly could.
 Some excessive spray foaming had to be removed before pouring the slab.
Not that we had much of a choice but when doing a foundation in the forest, at this time of year (November), you will have to deal with a lot of leaves on your foundation. We did our best removing as much as we could but according to our contractors it wouldn’t really matter that much in the end so we concentrated on removing the larger chunks.
 Sofia mulling over how to most efficiently remove the leaves.
The concrete arrives
Around 07:30 the concrete arrived in style. Since we’re only doing a 50mm thick slab the concrete was reinforced with some kind of fibre and due to cold it was heated up to 20° Celsius and had some additives to help speed up the hardening process.
 The yellow and blue concrete truck. Do note the nice graphic on the side of the truck.
 The contractors getting the truck in place for the first batch of concrete to be poured.
The pour
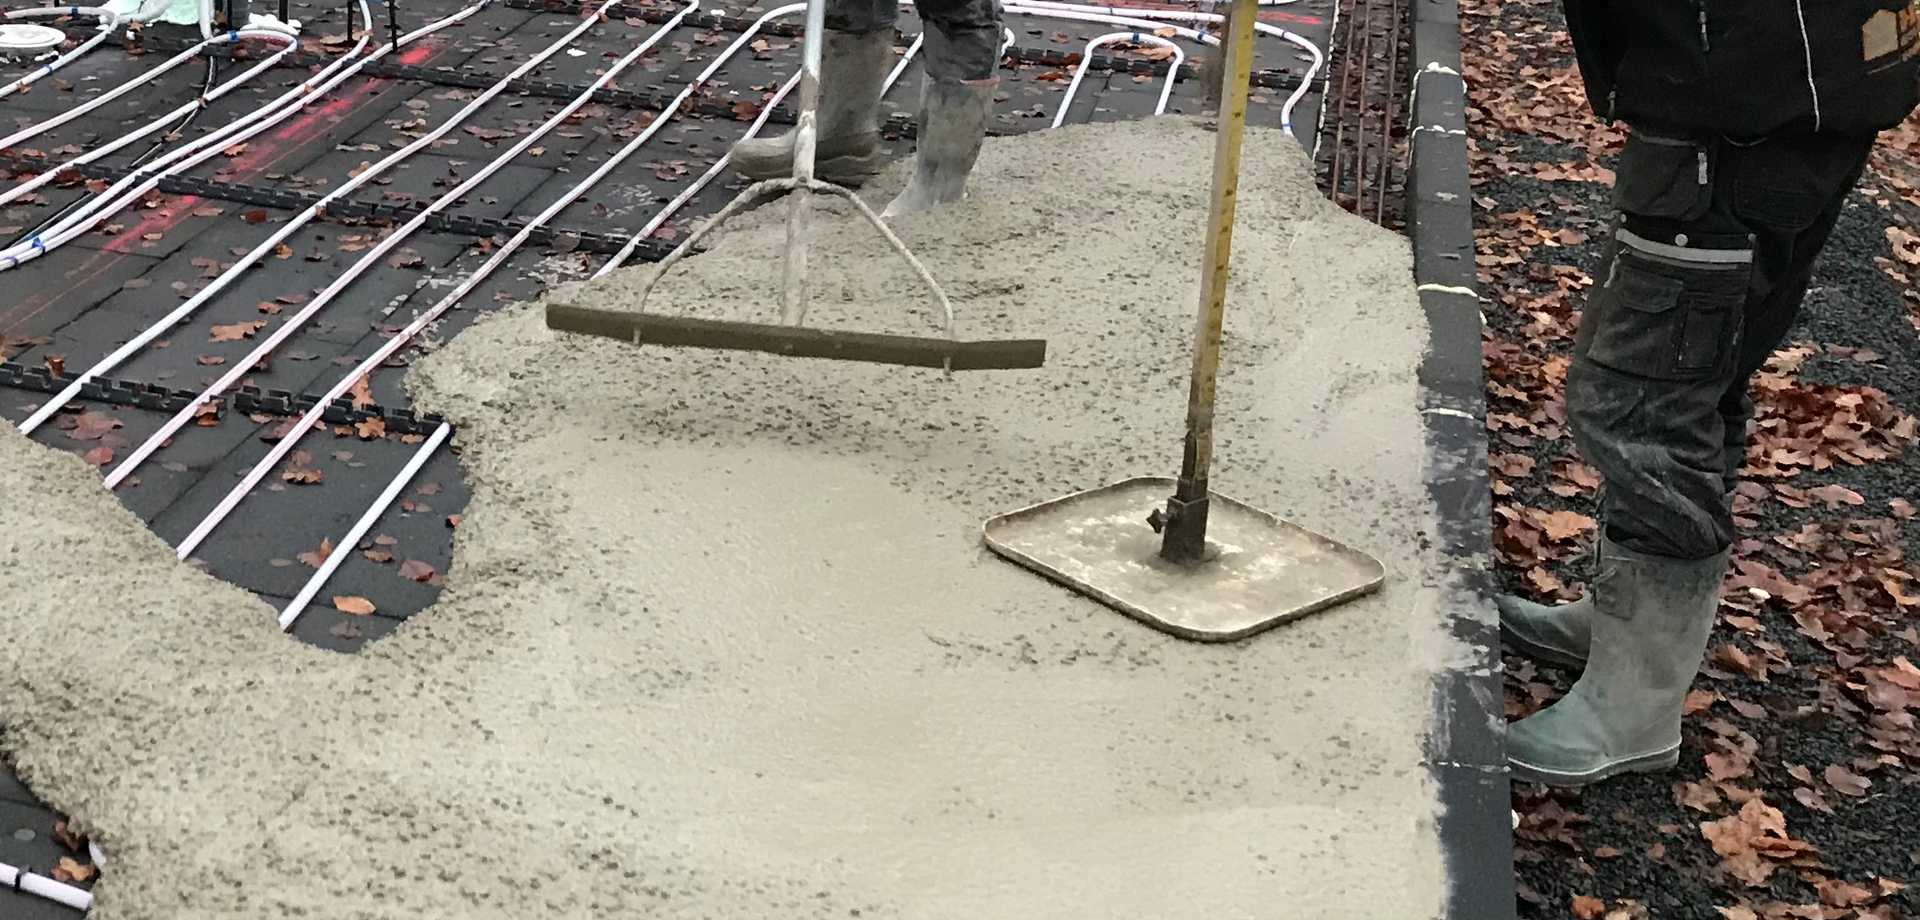
As soon as the truck was in place the work started. Since the weather was pretty cold there was no real stress getting the concrete out and levelled off before it would start to harden. It was impressive to see how easy the contractor levelled off the concrete by hand. They did use a rotation laser to make sure everything was within a millimeter or but it was pretty much bang on all the time. I guess experience does help!
 The experience was apparent when they were levelling off the poured concrete by hand.
 Måns got to try out the trowel. While it was a really good first try the experts took over from there.
 It’s not a one man job pouring a slab!
 Before and after smoothing the concrete surface with the trowel.
Smoothing the concrete surface
Once the concrete was all poured the surface was smoothened with a concrete trowel. This surface will then be left alone for a few hours to harden after which it’s time to use a larger powered concrete trowel to get the concrete to it’s final finish.
 The concrete getting a smoother finish that can later be further worked on.
 The two rough patches between the pipes will later be sloped by hand as in floor drainage (drainage in the shower and mechanical room).
 Some leaves blew onto the slab but it was no problem removing them without marks later in the process.
Not ending that great
Everything went just as expected up until this point. The concrete was hardening just fine and we only had to wait until it was hard enough to get the large trowel out for the final surface finish. However, the weather got worse and while it usually doesn’t matter if it rains when pouring a slab, if you want it smooth final surface it does, big time! They did their best to get it as good as possible but in the end the weather won.
Fortunately there are other ways to get a smooth finish involving sanding the surface with a diamond trowel after it’s hardened. It won’t be the same kind of surface but hopefully it’ll be good enough for a workshop floor! It’s either that our pouring another thin layer of concrete on top, which we don’t want to do.
In the end, the concrete slab looks really level but the surface is not that great…yet! We’ll do another post once the sanding is done with photos.
